
Hey all,
With the release of Jamf Connect 2.24, functionality for offline MFA was added into Jamf Connect.
This allows end-user to securely log in to their Macs, even when being offline.
To illustrate this, a normal MFA enabled login at the Jamf Connect Login window, in this case with Okta, would look like this:


However, when being offline, the Login Window would tell the end user to try authenticating locally (if not disabled in the configuration via ‘Deny Local’ settings):

This would all work fine, but by default without any 2 factor authentication of course. This is where the offline MFA of Jamf Connect steps in. After enabling this, and proceeding on a local authentication on the above screen, the authentication flow would look like this:
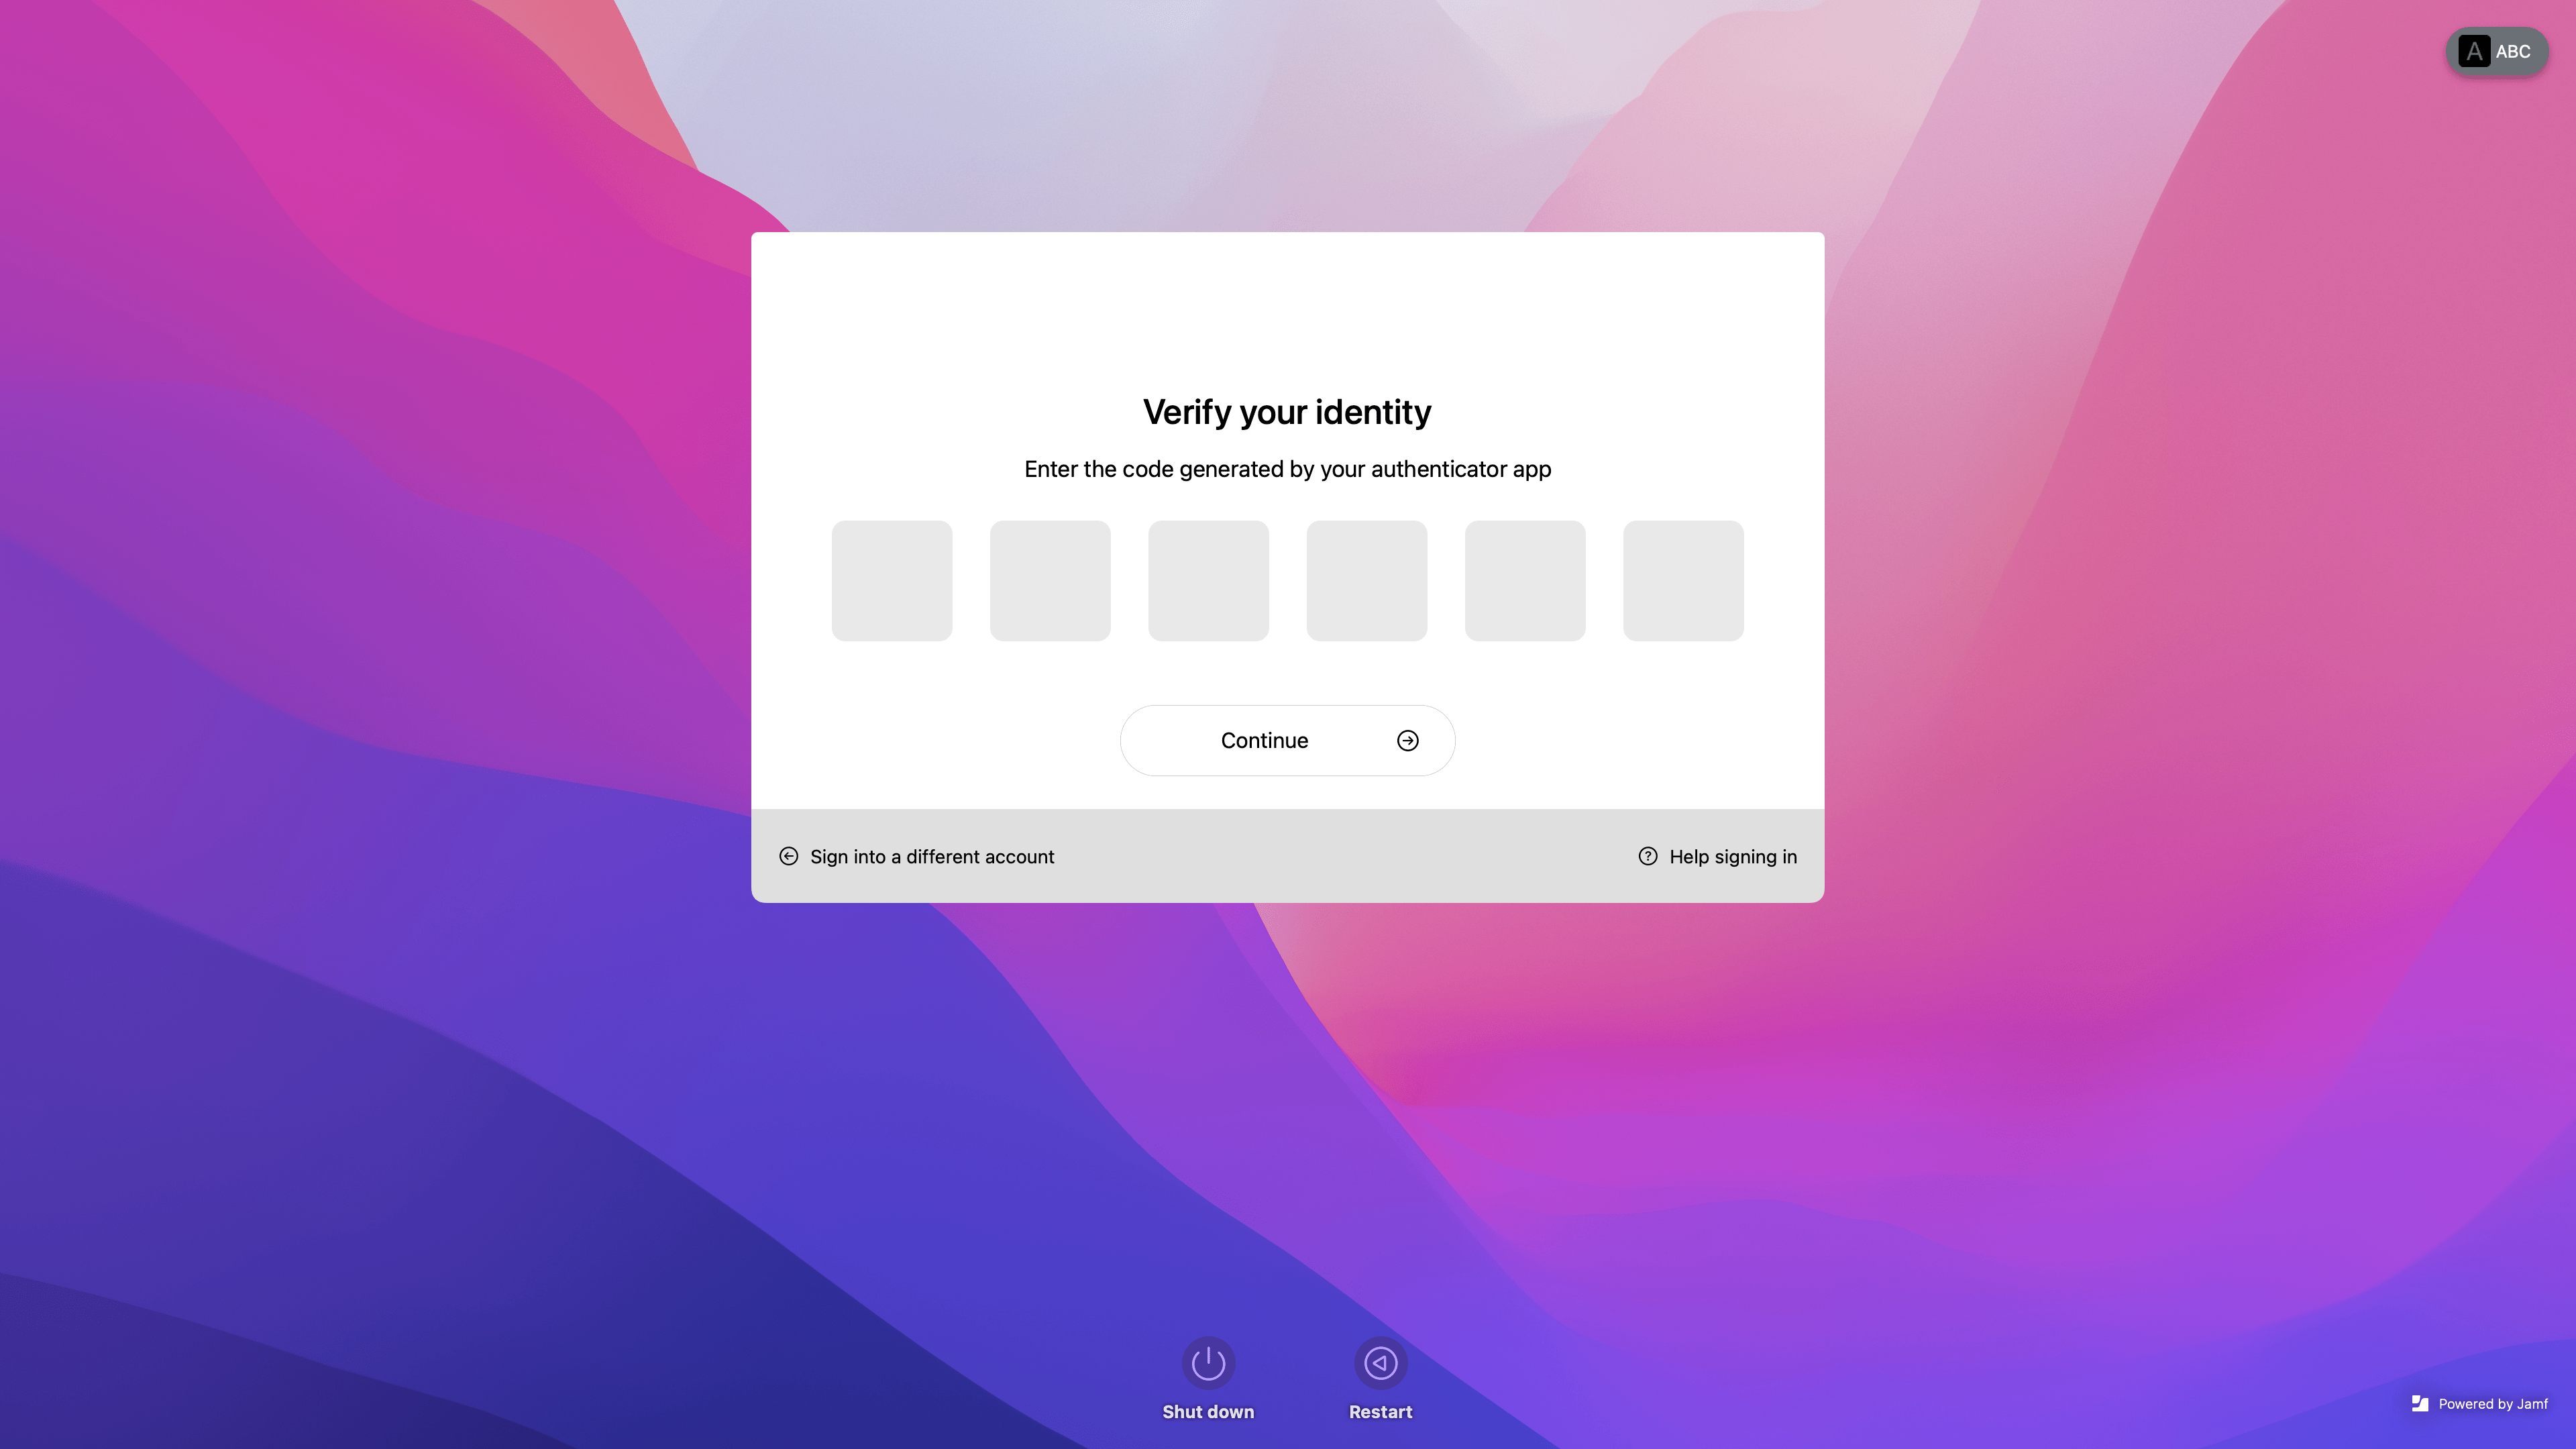
Here the end user would provide the MFA rolling code of the off line Authenticator app, just like you would with online MFA authentications.
Let’s have a look at how to set this up.
The change needed to your current configuration is actually very minimal, the only things needed are:
- Do not deny local authentication (or have the fallback set for when the Mac is offline)
- Upgrade Jamf Connect to version 2.24
- Add the following to the plist:
	<key>OfflineMFA</key>
	<true/>
Full plist example for Jamf Connect Login (com.jamf.connect.login):
<?xml version="1.0" encoding="UTF-8"?>
<!DOCTYPE plist PUBLIC "-//Apple//DTD PLIST 1.0//EN" "http://www.apple.com/DTDs/PropertyList-1.0.dtd">
<plist version="1.0">
<dict>
	<key>AuthServer</key>
	<string>obfuscated</string>
	<key>CreateJamfConnectPassword</key>
	<true/>
	<key>DenyLocal</key>
	<true/>
	<key>LocalFallback</key>
	<true/>
	<key>OIDCAccessClientID</key>
	<string>obfuscated</string>
	<key>OIDCAdminClientID</key>
	<string>obfuscated</string>
	<key>OIDCProvider</key>
	<string>Okta</string>
	<key>OIDCRedirectURI</key>
	<string>https://127.0.0.1/jamfconnect</string>
	<key>OfflineMFA</key>
	<true/>
</dict>
</plist>
Please note that there is no change needed on the Jamf Connect Menu Bar plist, only updating to v2.24 is needed.
Once Jamf Connect has been updated, end user will find the following option in the Menu Bar Application “OTP Settings”:

Note: Offline MFA is supported on computers with macOS 11.x or later.

Also, the JC manual states "Users can then enroll by selecting Offline MFA", this should actually say "Users can then enroll by selecting OTP Settings". I will have that corrected.
Configuring the Offline MFA is just like adding any other MFA link to an Authenticator app. For this test I used Google Authenticator. Alternatively Okta Verify can be used. The end user just needs to follow the on screen prompts.

A backup code will be presented to the end user for safe keeping. In case something happens with the Authenticator app or device linked to the MFA, this code will be required. Alternatively, Offline MFA can be disabled via command line. See below.

After proceeding past the Backup Code screen, the confirmation for Offline MFA enablement is shown:

This screen can be visited again via the ‘OTP Settings’ in the Menu Bar app, and if needed, be used by the end user to disable it.
Once Offline MFA has been enabled, the Jamf Connect State Plist is altered to reflect the same:

Apart from disabling Offline MFA via the Menu Bar “OTP Settings” option, it can also can be modified or removed via a command in Terminal. Enter /Applications/Jamf\ Connect.app/Contents/MacOS/jamfconnect_tool offline-mfa offline-mfa --help into Terminal for more information.
That’s basically it!
Now, one thing to mention is that end users probably already have an MFA link in their Authenticator app for their iDP user. This may create some confusion.

When Authenticating ONLINE, like with Jamf Connect Login and online reachability of the iDP, in this case Okta…
… the code for their normal MFA use needs to be used! Just like for any other MFA prompt against the iDP when online.
While for Jamf Connect OFFLINE MFA…
… the one specifically created through the Menu Bar needs to be used!
Using the wrong code (the one for online iDP MFA) will result in an ‘invalid verification code’ error and looping back to the login window (even when at 2nd attempt trying to use the right code as per my observations).
That’s it! As always, if you liked the post, hit the like button, tell your friends about it and leave a comment down below!
Brgds,
TTG

Apple ecosystem enthusiast, geek, tech gadget freak, Belgian living in the Netherlands
Manager Technical Support | Jamf
Does this work with AAD too?
Yes, only thing needed is a compatible Authenticator app
Did you end up trying the backup code? If so did you end up have to reset up MFA on the device.
This is a nice guide thanks.
But with these configurations local login without MFA is possible if it is not setup.
Also If there was a way to “force” local OTP setup, the user can still remove it afterwards and then login locally without MFA.
Unfortunately we can not allow this in our org.
Therefore right now in this state it is not usable for us. 🙁
Hmm — really some that use MFA everytime logging into a computer ? – think our users would get crazy on this.
But of course a OK feature – but would rather think set up password change everymonth would be more user friendly
When having mostly remote users without a corporate network, then identity becomes crucial. And how to better protect identity than with a second factor?
And it’s really not a big deal to verify the push notification that I receive on my watch. 🙂
Cheers
+1
Yeah different environments, different requirements
Nice guide, thanks for writing this down! I got it working for offlineMFA, but when online I don’t get an MFA prompt, it just logs in with my Okta username/password. I guess this is due to my JCL config profile? Which fields should I have configured to have online MFA work?
Hey Gerard! That would be managed on the Okta side and sign-in policies on the tenant. Online MFA is triggered/initiated on the iDP side.
Thanks! May I be so bold to ask you what I’m missing when it comes to OnlineMFA? I set up a custom OIDC app integration (because for some reason I cannot get OnlineMFA to work with either Okta or OIE). The custom OIDC app integration does work…however it shows me this Okta webview login window to authenticate, and not the login window as shown on your screenshot. What am I doing wrong or what am I missing?